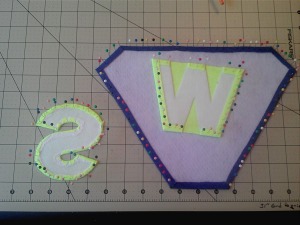
Pinning the edges for the crest and letters went well. The glue holds great and is a perfect way to complete the overlay. Cutting the notches around the edges could use some work. When the fabric was folded over you can see where the cuts were made and it gives the letters a chopping feel to them. Since this is only noticeable up close it should not be a problem.
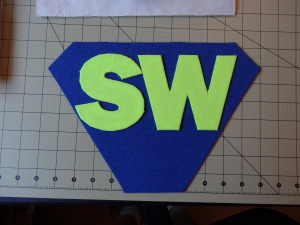
I used the same glue and technique to attach the letters to the front of the crest. Gluing the edges of the letters and “painting” the glue around to eliminate gaps. It was then allowed to dry.
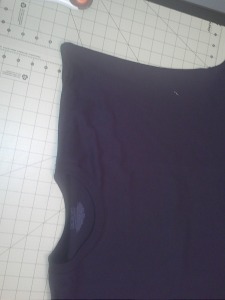
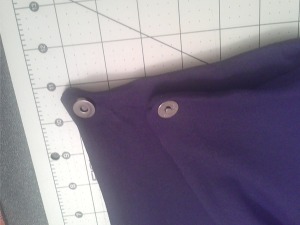
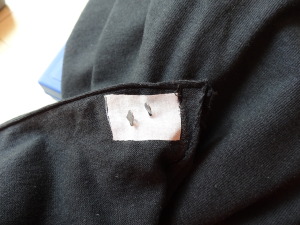
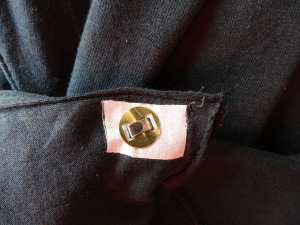
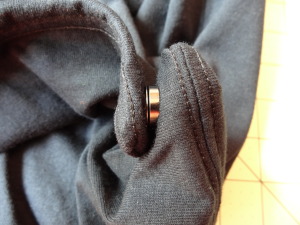
While the glue was drying I completed the cape. Since I wanted a simple cape that still looked like a cape made from home I used a XXXL black t-shirt. I cut off the sleeves and turned the shirt inside out to sew the arm holes closed. I then inserted the tines for a magnetic clasp to hold it around the neck. The pictures that I found make it look like the cape is not physically attached to the shirt and I wanted to keep that. Additionally, I did not want a cape that was permanently secured around the neck. Undoubtedly some asshole is going to yank on the cape, choking me. The magnetic clasp will detach easily enough, making yanking or driving much more comfortable.
Once the clasp was attached I noticed that the fabric of the shirt stretched around the hole and looked in danger of tearing easily. So I removed the clasps and ironed on some Ditz seam repair tape. This is the same tape that I used to cover the seams on the pants of my rogue cosplay and it has held up like gangbusters. Once the tape was on I reinserted the clasps and I feel that this will create a much more robust cape.
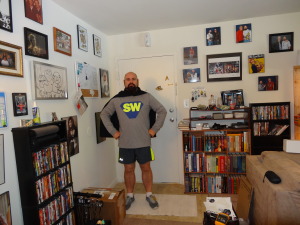
The only thing left was affixing the crest to the shirt. Instead of using the same glue that I had, I opted for a spray on adhesive. The amount of glue I had remaining was in short supply and I wanted something to cover a much larger area. The Spray N Bond fusible adhesive was purchased at Wal Mart and seemed pretty straight forward. Spray it on, let it dry, iron it. I figured with the thick crest and letters I would turn the shirt inside out to iron on the fabric. The instructions in the can suggest doing so for an additional 6 seconds for thicker fabrics. Once attached I found that sides, especially near the letters, did not affix very well if at all. I tried ironing it a second time at a higher temperature to no avail. Since the adhesive was applied as a liquid I set the iron on Cotton/Steam and reironed the inside of the shirt. This produced a much stronger bond. I can only assume that the addition of moisture and heat reactivated the adhesive. It might be worth attaching the fabric and ironing immediately, rather than allowing it to dry as the instructions say.
The next hurdle will be cleaning it. Everything, from the glue to the fusible midweight, says it is safe from machine washing. My concern is that the letters will fray, or fall off, and the crest may fall off. Additionally, there is a chance that, while everything remains attached, the crest and letters may become warped or shrunken. Since I will not wear it multiple times without washing it I will probably have it dry cleaned.
