For cosplay contest contestants!

10 Things a Strong Cosplay Competitor Should Be Pretty Good At

This is a an article written by a cosplayer that I’ve only been following for a couple of months.  But he’s absolutely fantastic with years of experience.  When I first saw the headline for his article a couple of things jumped into my head that I would want to see addressed.  And he hit every single one of them.

This is a great read for those of you out there that would like to start entering cosplay contests, or if you already do, take your entries to the next level.  A ton of my friends are all award winning cosplayers and I’m friends with even more of the “cosfamous”.  But being recognized in those terms has never been my thing.  Sure it can be fun, but I don’t need the competitive side, I don’t do it for the recognition, and I don’t require the money or prizes.  I cosplay for me and my friends.

At the very least, take a trip over to Wirru’s page and see what “next level” cosplay looks like.

How many of these will my procrastination kill off?

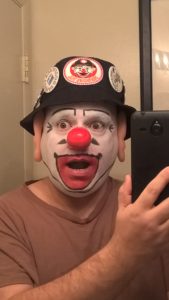
So here’s a long list of places I want to go for next con season; Katsucon, Emerald City Comic Con, Awesome Con, All Star Comic Con, Blerd Con, Otakon, Baltimore Comic Con, New York Comic Con, and Boston Comic Con.  So some of these I already know I’m going to.  Some are cons that I’m heavily leaning towards.  And one is just because I want to post a goofy picture.

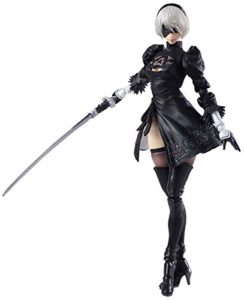
And here’s a list of costumes that I need to work on; Update Western Wonder, embellish and repair Yang, rework DARPA Poison Oak, water walking Leonardo Da Vinci from Ever After, Old Man Logan/Yang mashup (with working claws), All American Boy, John Crichton (Farscape/Crackers Don’t Matter), and YoRHa No.2 Type B from Nier: Automata (which I’ve never played).  No problem, right?

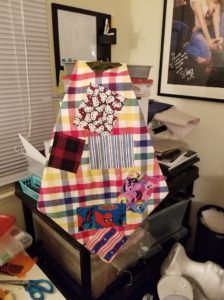
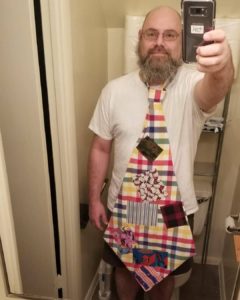
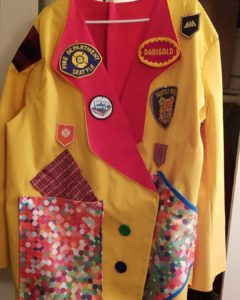
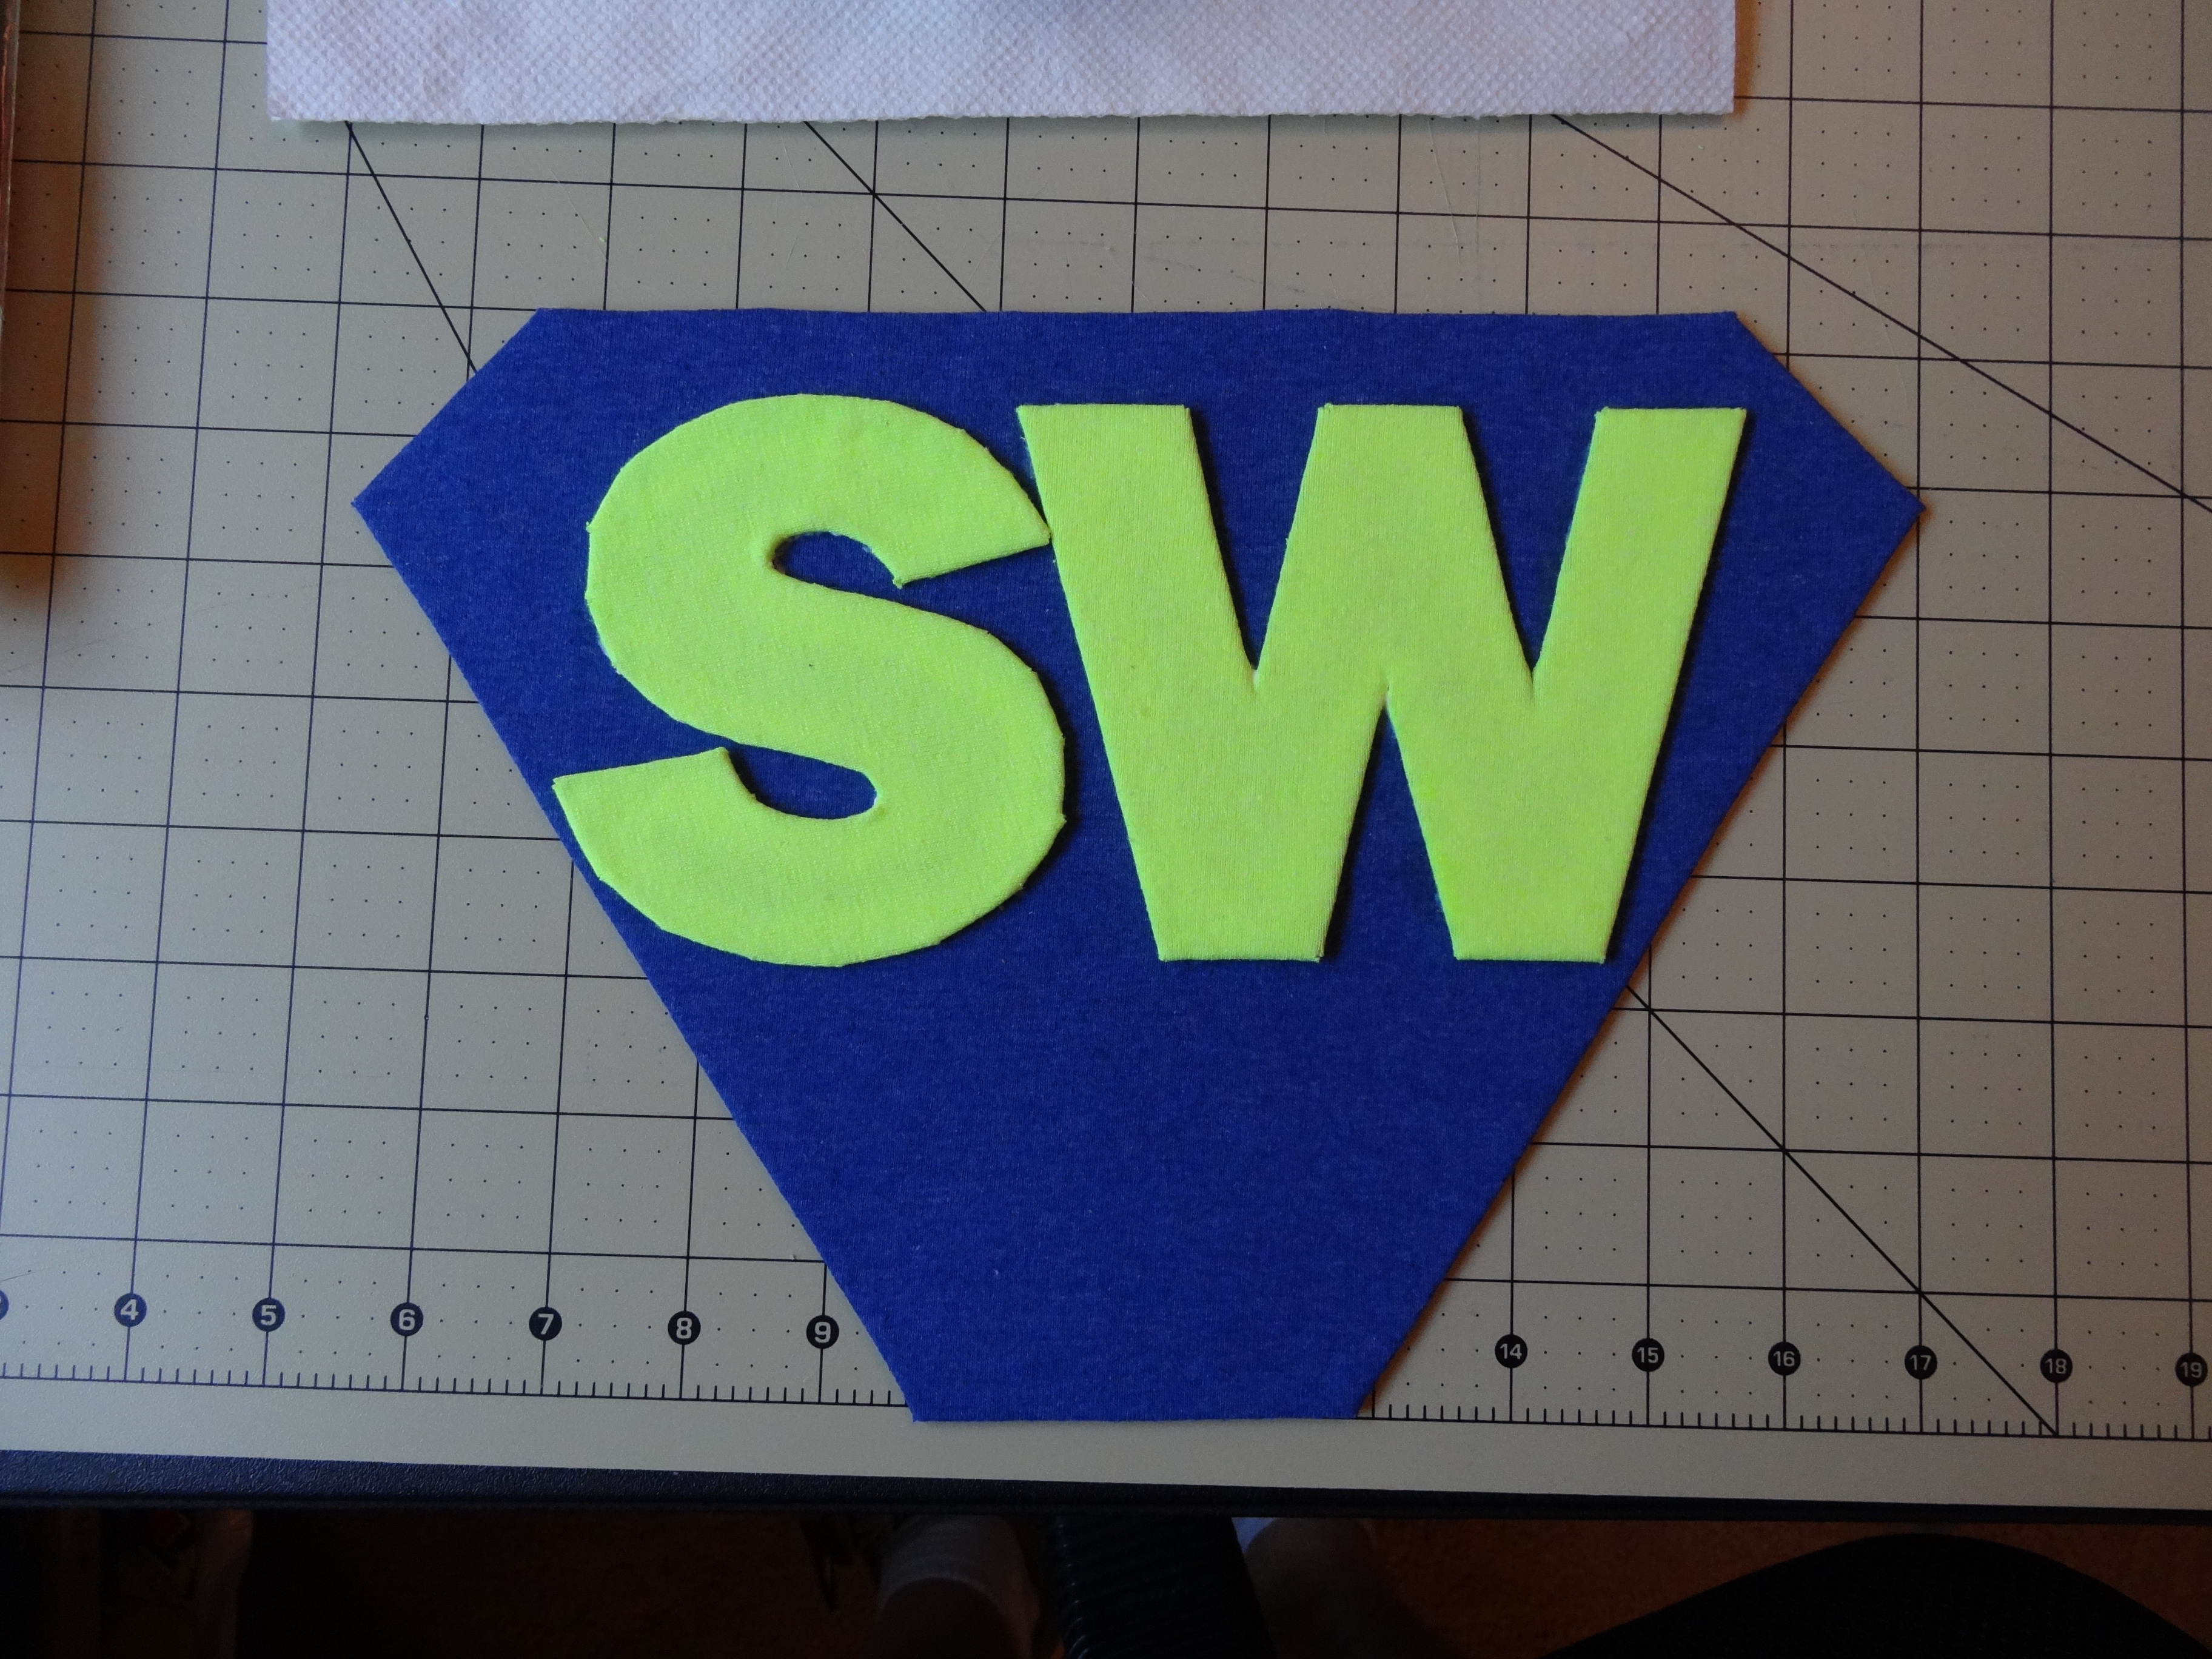
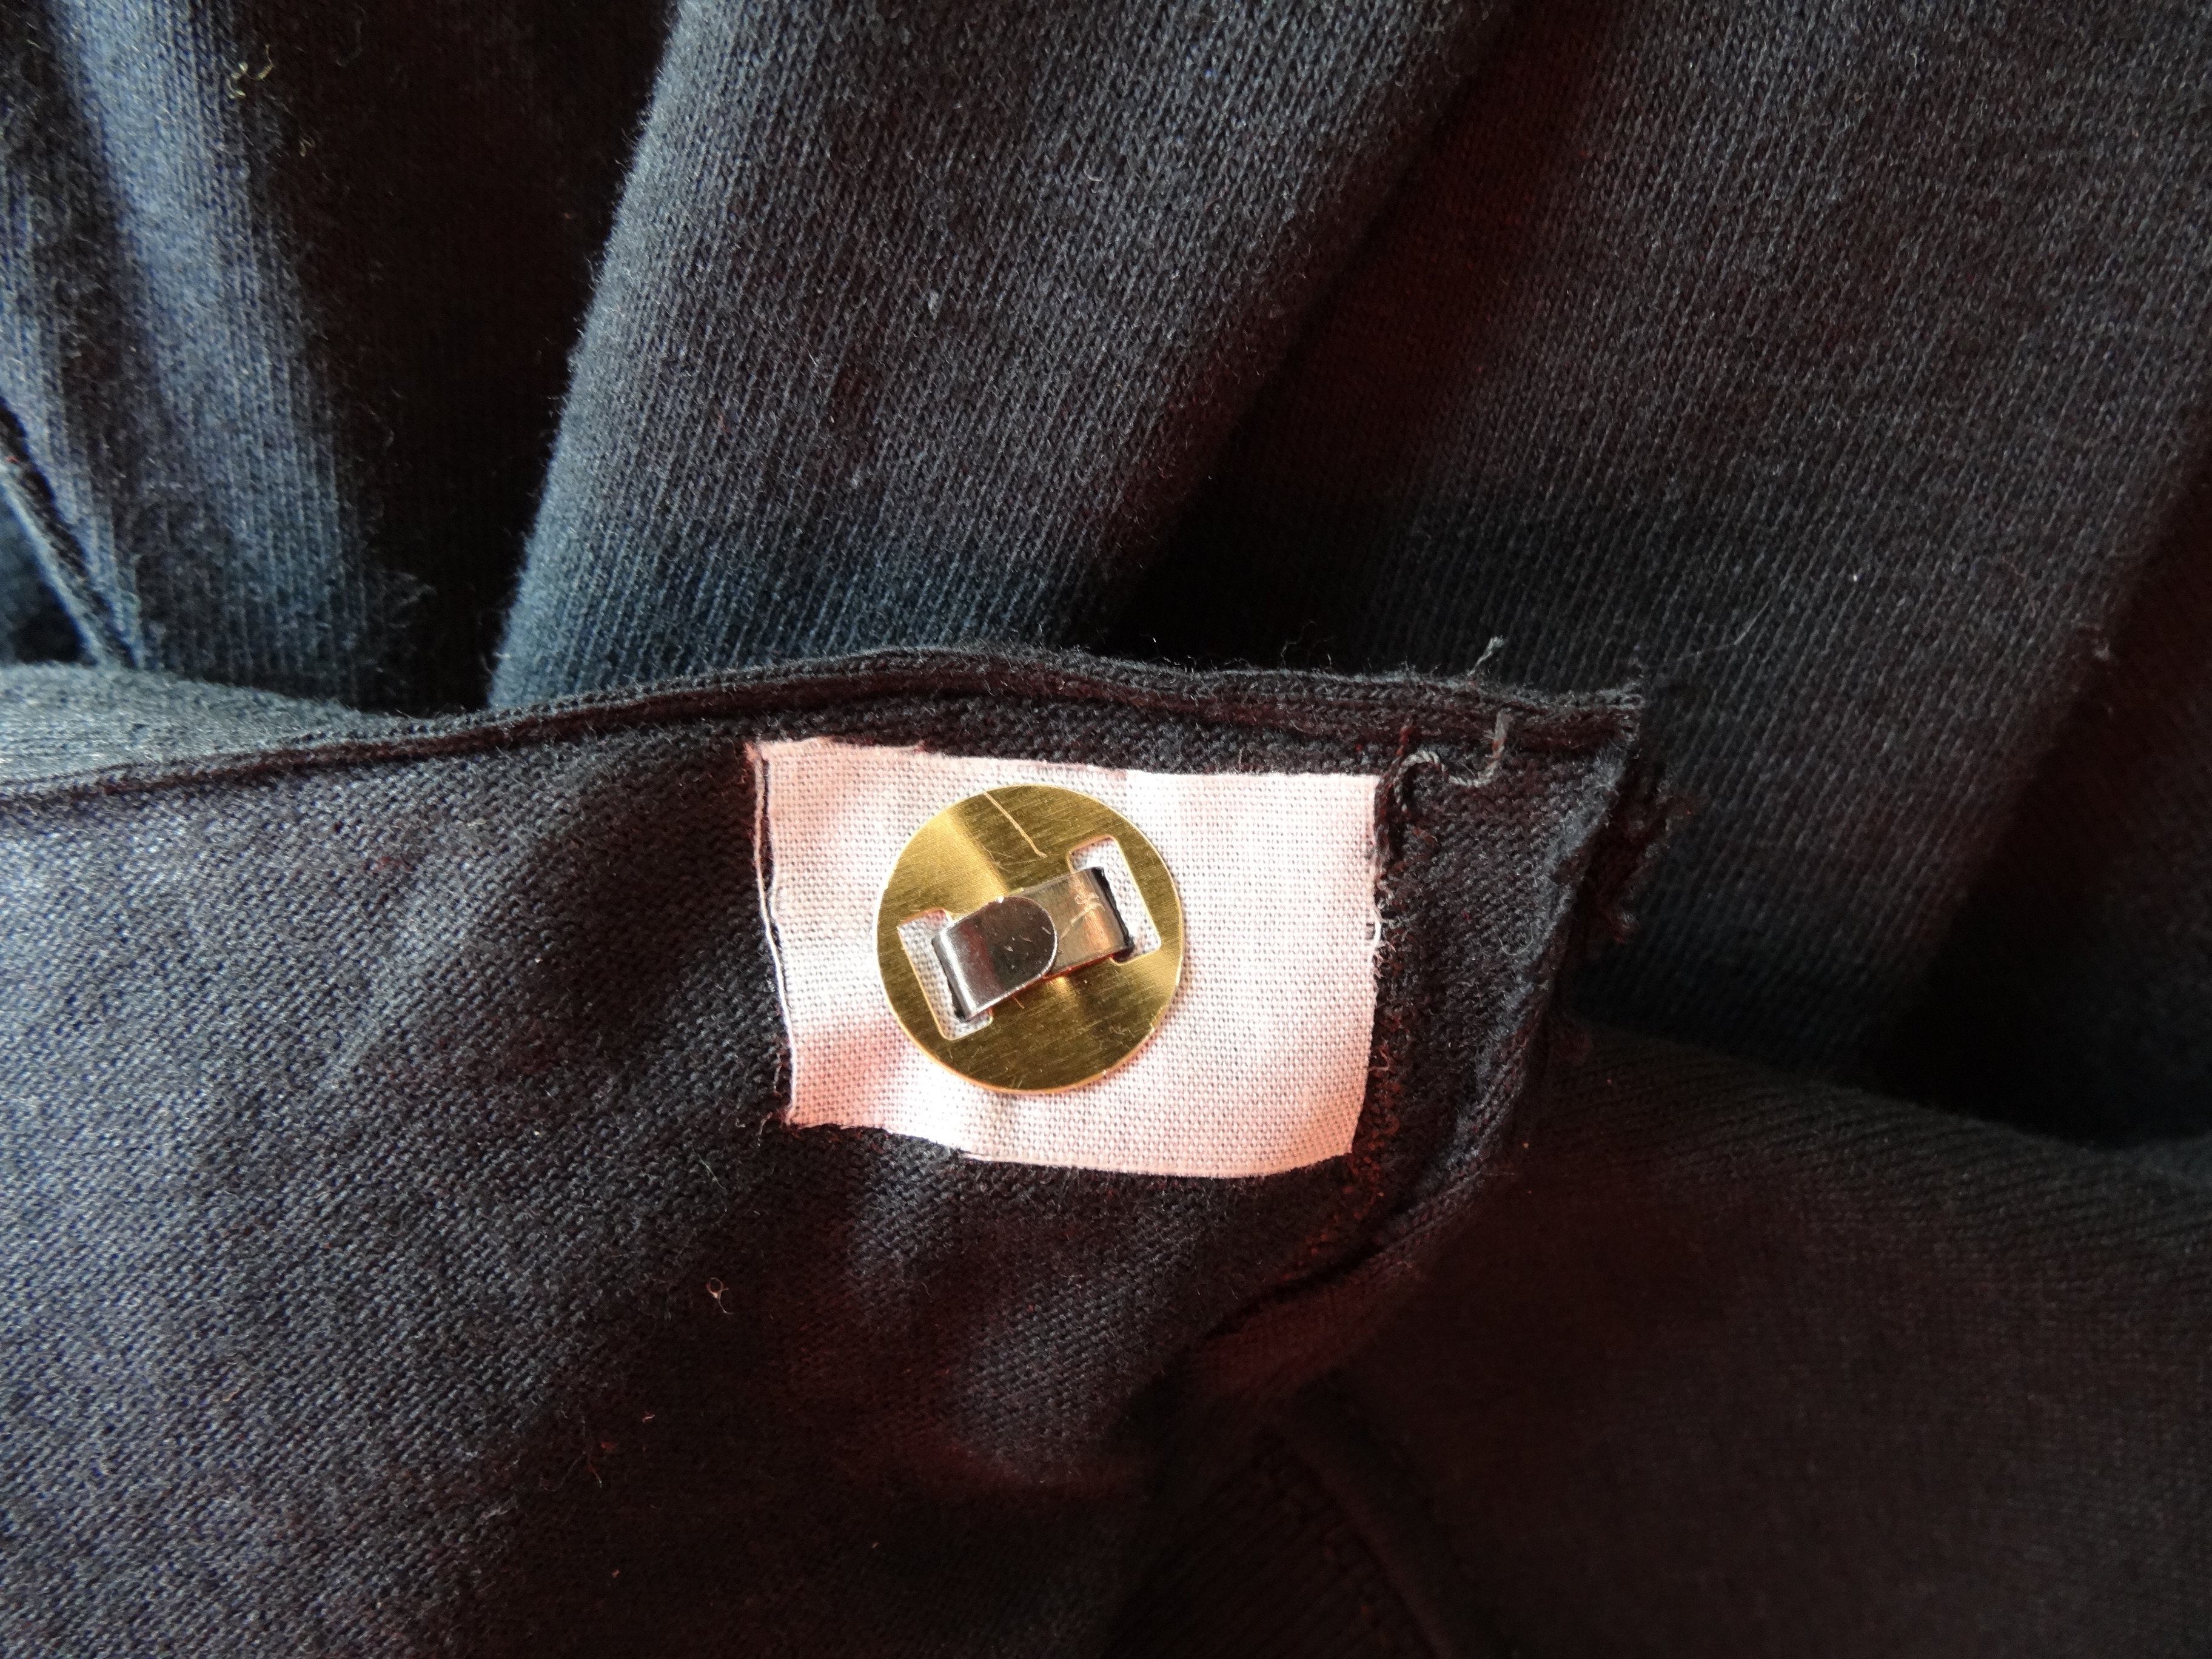
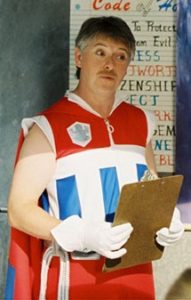
The repair work for Western Wonder and Yang are pretty straight forward.  The cowboy boots are cracked and need to be repainted.  This is only noticeable up close.  I am thinking of making boot covers instead.  Since I need to learn how anyways.  If I cannibalize the shirt I have now I think it will provide enough fabric for both boots.  The bonus to this is that the boot colors will match the new shirt (I bought 2 of the same shirt when I made the costume).

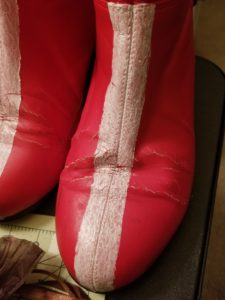
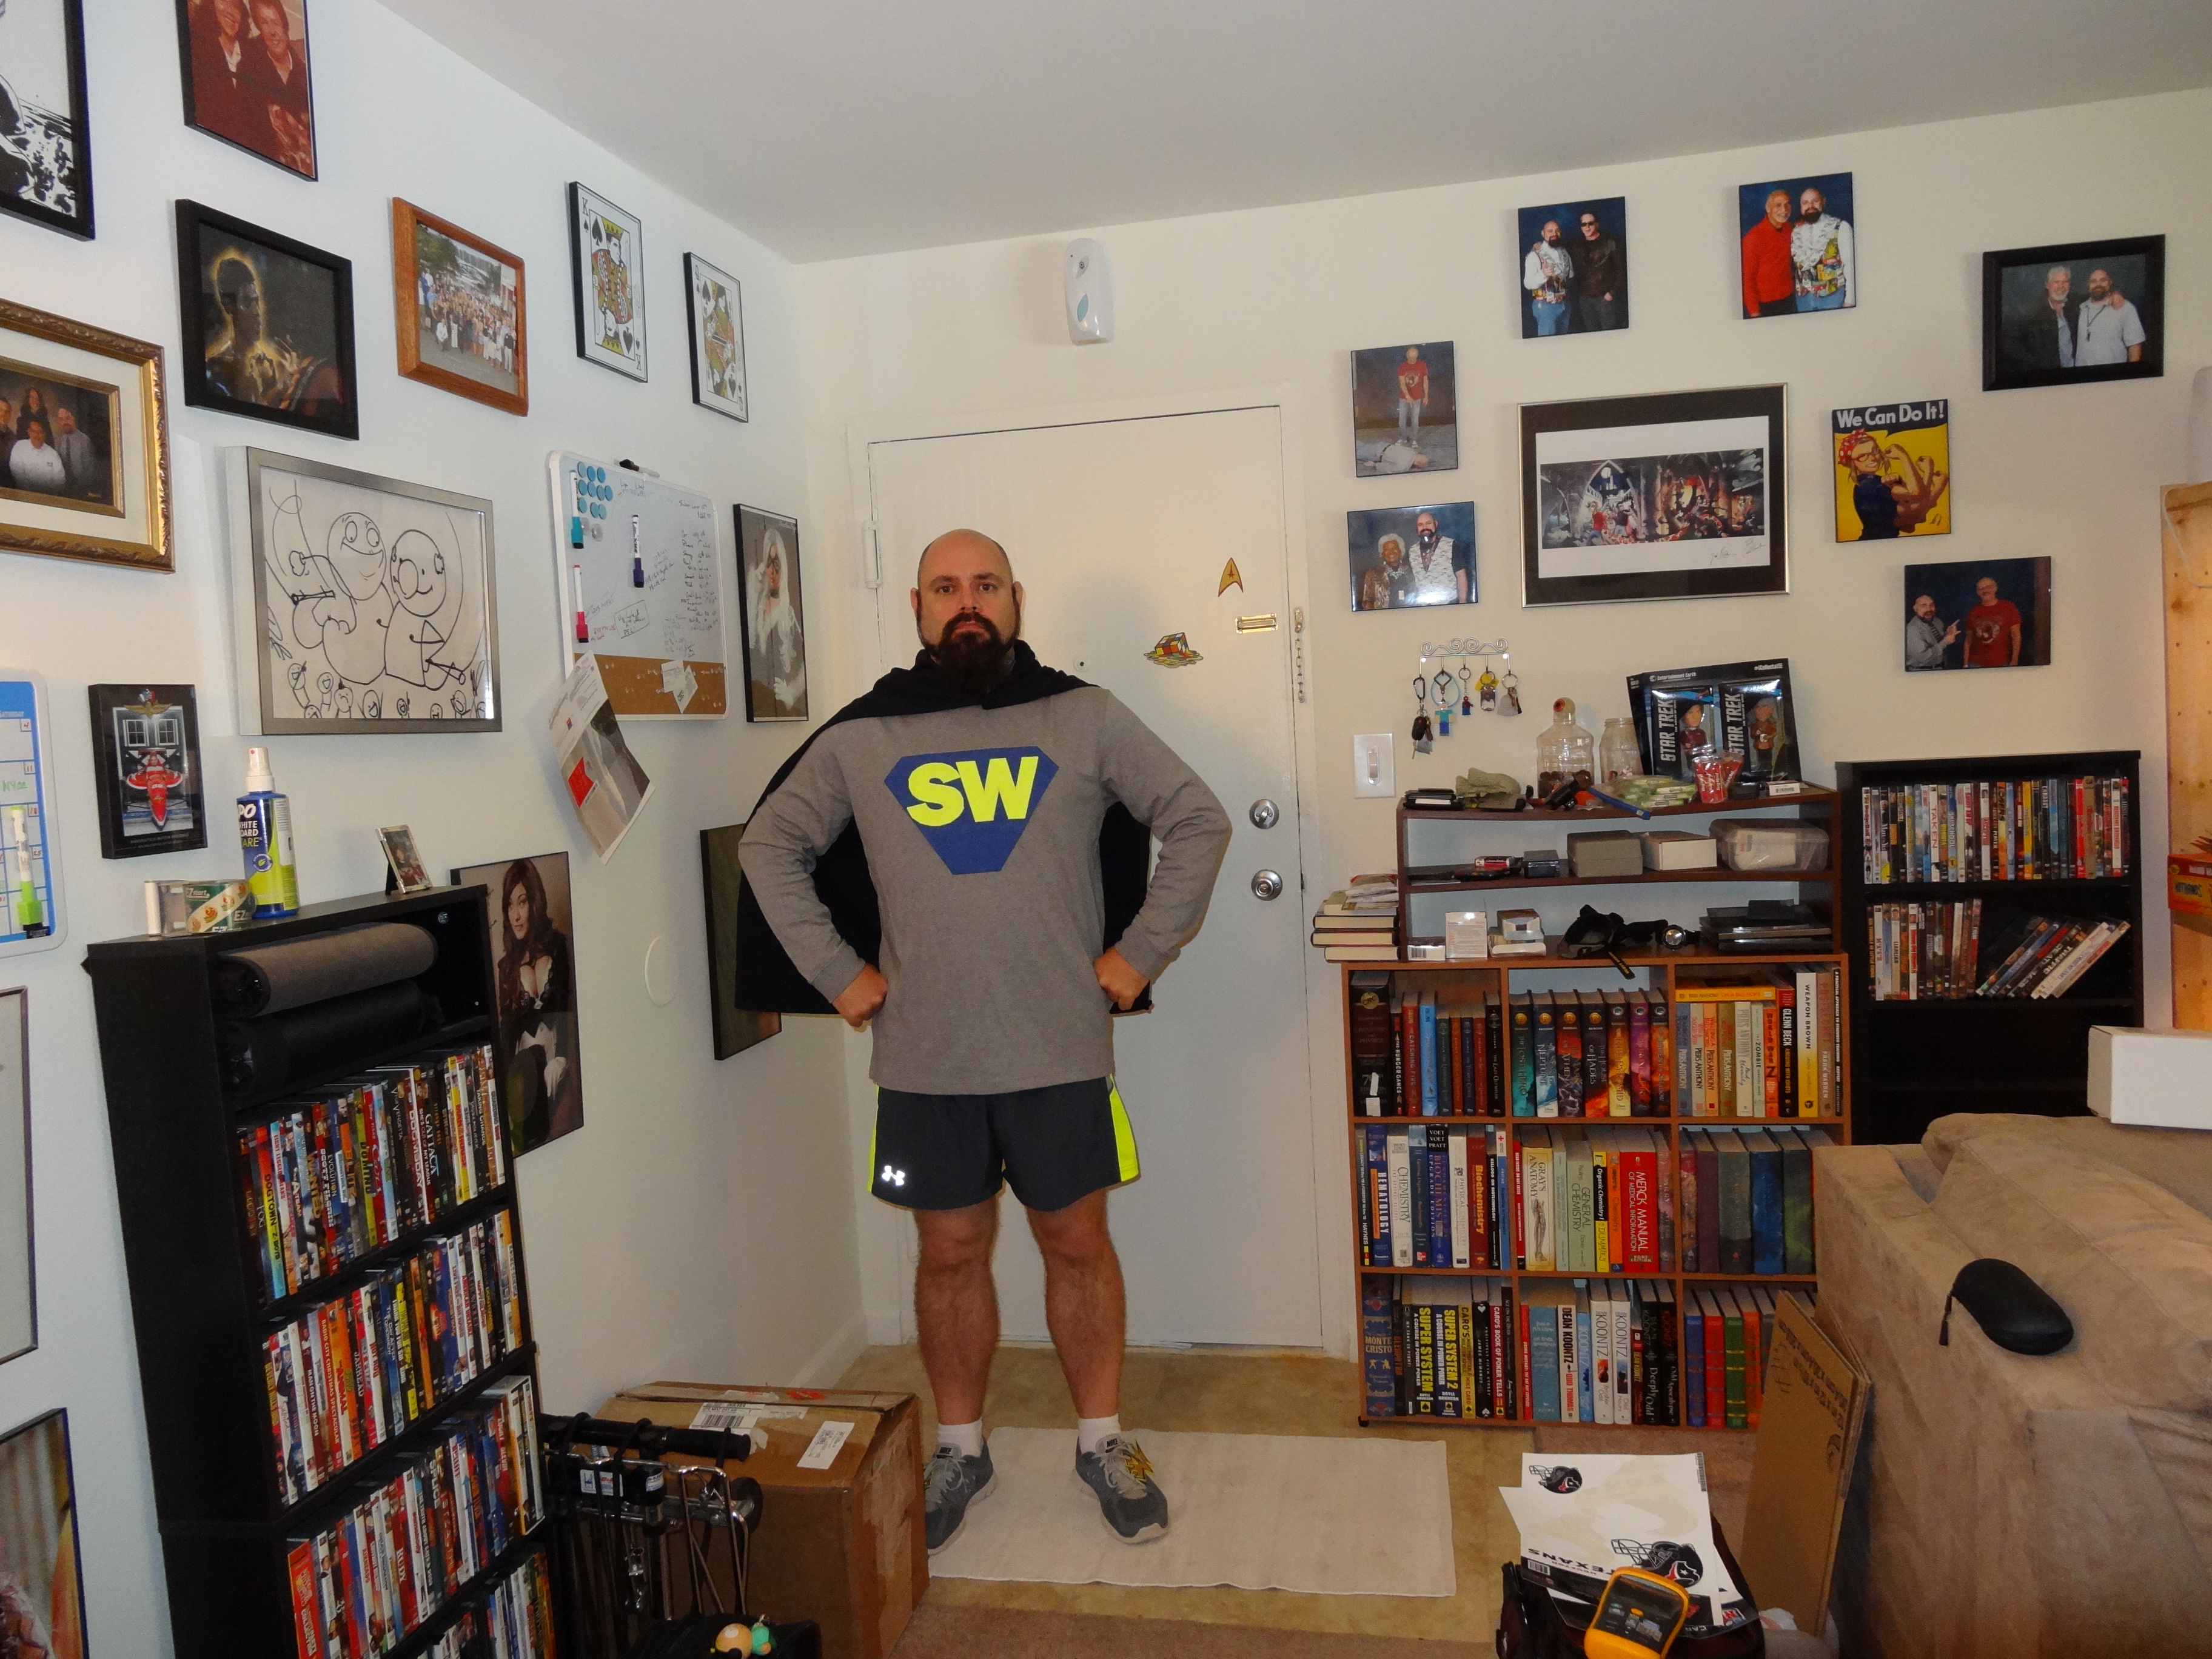
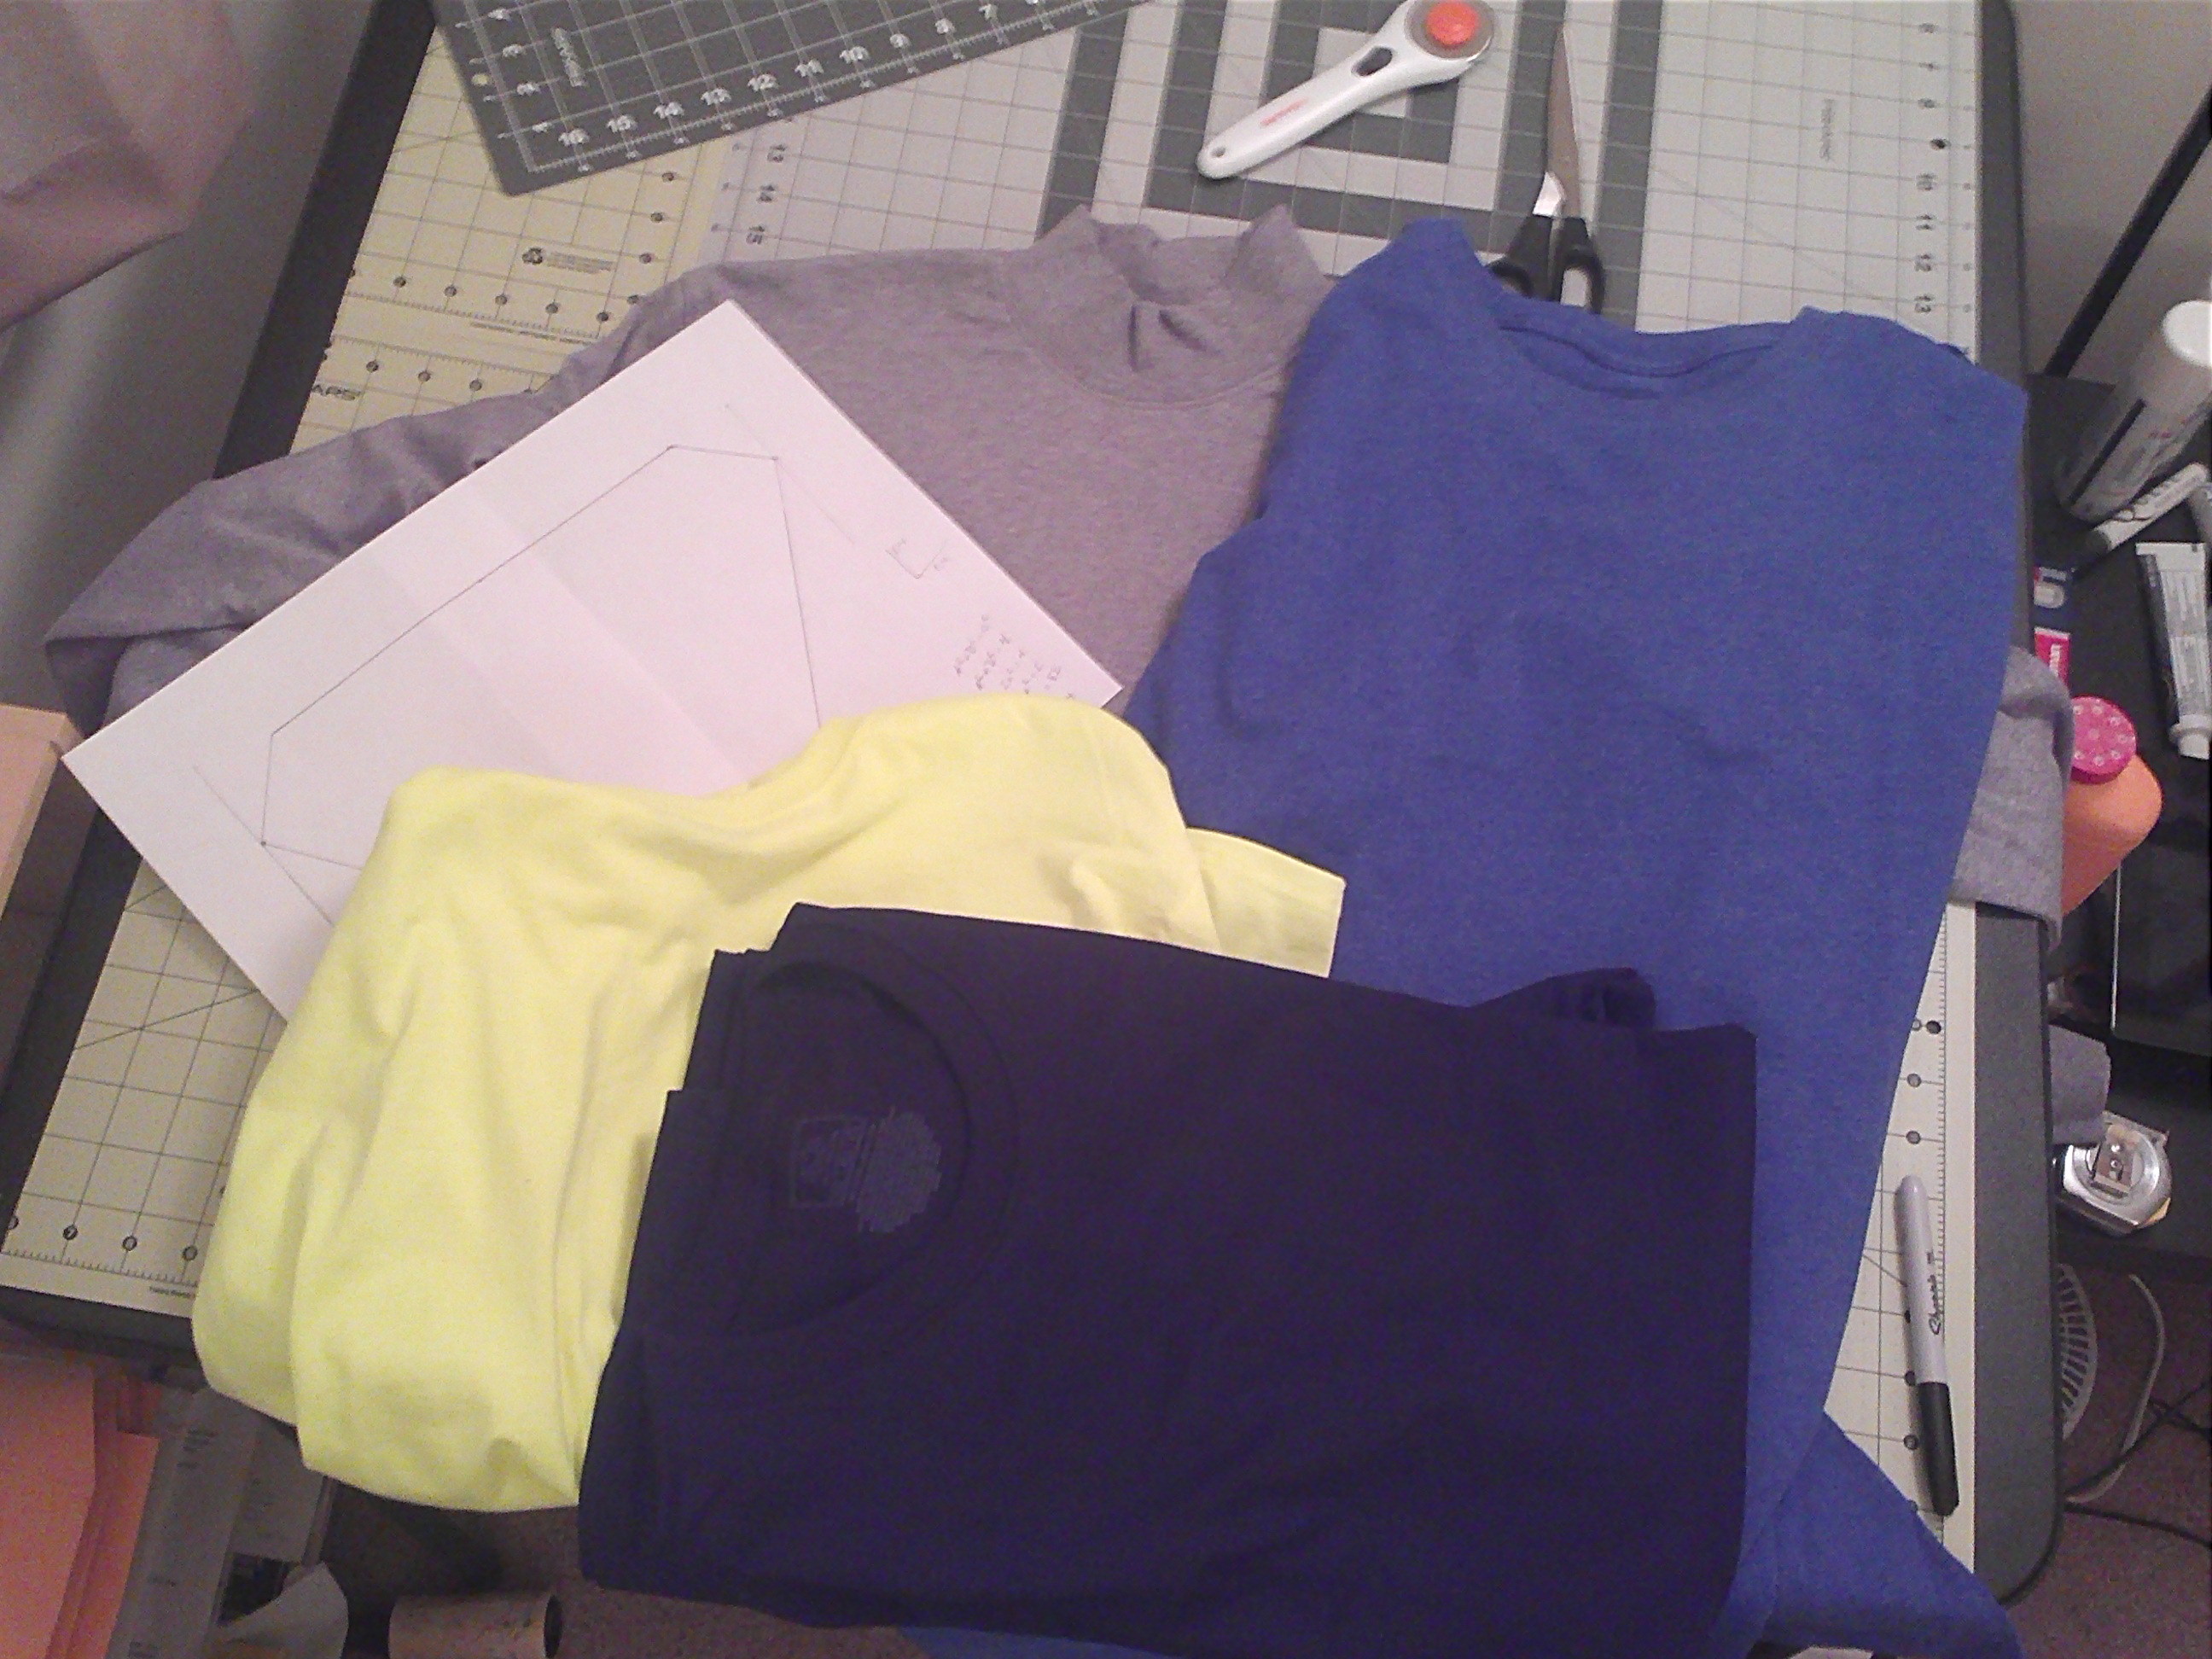
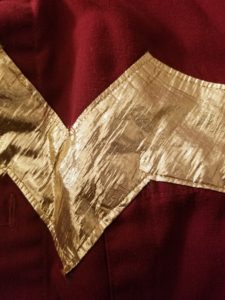
The next step would be making a new shirt for Western Wonder.  Again, the defects are really only noticeable up close.  Small bits of fraying and fabric glue.  A LOT of wrinkling. I am hoping the new fabric will hold up a little better than what I originally used.  Sure it held up extremely well, but the new fabric may be more “wrinkle free” than the thin stuff.

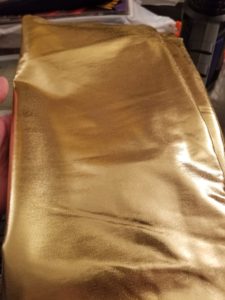
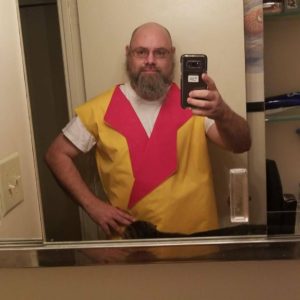
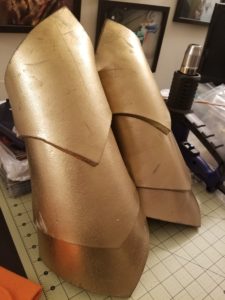
Yang repairs will be a little trickier.  The gauntlets sustained pretty significant damage for only 2 days wear.  Of course, it was 2 days at NYCC.  I’m experimenting with sprays to cover the paint for protection but without sacrificing shine. The rattle cans I purchased have been problematic so far, with one being a flat out failure. I want to try one more before looking into purchasing airbrushing equipment.

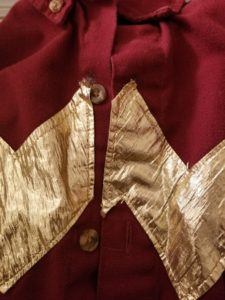
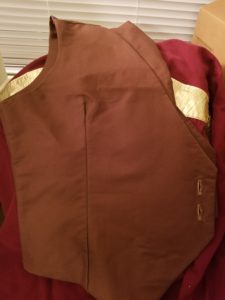
The embellishments that I have in mind for Yang sounds pretty easy.  Extra detailing on the vest and some edges around the panels.  However, the more I think about it the less simple the detailing becomes.  Mostly because I’ve already finished the vest and the detailing is being added last.  (And I just thought of adding Yang’s emblem to the back of the vest in the same color fabric.)

For my DARPA Poison Oak I want to take the streamers of leaves apart and sew them directly onto the BDU’s.  I think this will make it look more like the original character and add additional durability to everything.

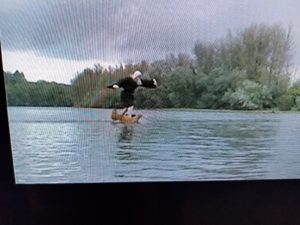
At least I’m half way through growing my beard for Da Vinci.  I’m REALLY not a fan of having it this long.  I get up in the morning and have to brush the hair out of my eyes.  Go ahead and read that again, I’ll wait.  The costume itself looks pretty simple.  A brown robe, some long johns, a white cap, and water walking boots.  See, simple.  I can draw from BHCosplay’s experience with building the boots for his Red Legion costume here.  He also recommended making them removable so that they can be carried if there’s a long distance to travel.

John Crichton and All American Boy are exactly what they sound like.  Some prop building for Crichton and a lot of sewing for All American Boy.  YoRHa No.2 Type B (2B for short) should be a quick build.  Gender swapping it will be easy but may require some rethinking to keep it from looking like other characters in the game.  Bonus, I now have an excuse to play the game.

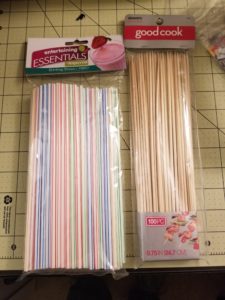
Old Man Yang is the costume that I am, currently, most motivated to work on.  Just thinking about the mechanism for getting the claws to extend and retract has taken up a lot of time.  I’ve been looking into Arduino controllers and motors as well.  I even picked up some straws and kabob skewers to start prototyping.  Most of the rail systems I’ve seen online are, either, entirely too large or crazy expensive.  I only need it to do 2 things.  Move forward, then move back.  I don’t even want it to move quickly.  I like the idea that the claws move slowly, you know, as if they’re old.  I figured I could build a rail system just using pieces of straw on wooden dowels.  Three claws are attacked to pieces of straw, they are stabilized at the back end, and moved forward as a single unit.  I’ll make the claws out of foam to keep them light so it should not require a very powerful motor.  The trick, however, is that the motor has to move in both directions, several inches.  At work I deal with motors from time to time but they’ve already been engineered into the products.  I just change them and make sure they work.  In this case, I have to figure out the entire system from start to finish.

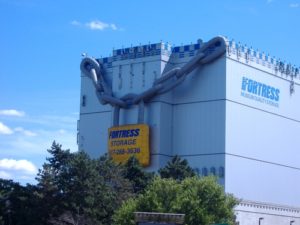
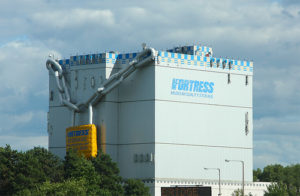
I could add notes about my Steam Punk Poison Oak but I’ve stalled on that one pretty solidly.  I am also toying with a gender swap Winter Schnee, also from RWBY.  Then there’s Shego and any number of other characters to swap.  But the fun one that I really want to cosplay isn’t even a character.  I want to go to Boston Comic Con so I can cosplay this building!

JP Patches WIP dump

Since JP Patches was the subject of my post 2 years ago, I may as well follow up on that.  I did complete a JP Patches cosplay for Emerald City Comic Con.  I didn’t do the post apocalyptic version however.  I had waited and procrastinated long enough and wanted to go ahead and finish it to wear at ECCC.  Here is how it turned out;

Original on the left, me on the right.

Naturally there were several things that were easily done and others that took substantially more work.  The Patches Pals patch was purchased and ironed onto a basic fishing hat that I also purchased.  Other patches were purchased specifically or sent from interested parties.  Darigold was happy to send me several patches to include on the jacket.  The fire department patch was purchased from a reseller/collector website.  Many of the other patches were items from games and the like that I had received over the years.

The fabric remnants as “patches” are pretty self explanatory.  That is where the character got his name.  Instead of just random patterns, many of the patches that I made came from geek oriented fabrics.  My Little Pony, Spider-Man, Star Wars, etc.  While I wanted to remain true to the spirit of JP Patches, I also wanted to give a nod to the comic book culture I was going to be surrounded by.

The buttons on the hat included one for Emerald City Comic Con, as well as, one for my own cosplay page.  The others were generic motivation and “feel good” buttons.  The buttons on the jacket were a different story.  JP Patches didn’t wear a specific set of buttons or even keep any certain buttons for long.  He rotated them out as he received them from fans, friends, or picked them up through out the days.  Because of this I could have done the same, or even followed the same path as the fabric swatches.  Instead, I made buttons specifically with images and tributes tied directly to the show.  Many were black and white stills, pics of JP Patches with Gertrude, an pics of Chris following the show making appearances as JP Patches.

At this point the amount of work greatly increased.  The shoes were simple, just drawing lines on some Converse All-Stars.  The vest was just a basic geek vest that I had hanging in the closet.  The gloves were purchased, along with the pants and shirt.  The ears, makeup, and nose were all found on ClownAntics.com. Unfortunately the nose wasn’t perfect, but it was the best that I could find online.  The ears were perfect.  The makeup was more difficult than I had expected.  The jacket required significant work.  I took a jacket pattern and changed some of the panels to give the more linear lapel.  Sadly, I’m not as great a sewer as I’d like to think and the sleeves an amazing amount of subterfuge to conceal.  Thankfully, he’s called JP Patches for a reason.

After a few youtube tutorials the makeup did come out much brighter and defined.  I do, however, wish I had done more than a single makeup test.  It is harder than it looks.  Also, make sure that all of your equipment works as expected.  The pencil sharpener that came with the black makeup pencil, not big enough.  Caused a medium size panic attack the day I wore the costume.

The wig is another item that caused more than a little trepidation.  I wasn’t sure what to do with it once I got it and even toyed with the idea of not wearing it at all.  Shortly before the con, I was saved by the graciousness of my best friends wife, who styled the wig for me.  The morning of the reveal I went through the motions of getting dressed and putting on the makeup and the further along I got, the less hopeful I got.  Until I put on the wig and hat.  I can honestly say that I was surprised at how much the wig pulled the entire look together.

The reactions that I received at the con were spectacular!  It was a fantastic day fun and, nearly, tears.  I purchased 50 small rubber chickens to pass out to people that took my pic and they were gone by noon.  Considering that I didn’t even make it to the con floor until about 10:30, that’s pretty impressive.  The only problems that I had was a popped seam when I put on the jacket.  And about 8 hrs into wearing the nose, it made a break for it.  Reattached it with more spirit gum and it was good for several more hours.

I’d like to thank Erynne for her help with the wig.  ClownAntics for their fantastic supply and support with the noses when I purchased ones that wouldn’t work and they gladly exchanged them.  A very sincere thanks to Archie McPhee for stocking those hard to find items and curiosities that you can’t find anywhere else.  My deepest thanks to JPPatches.com for their help and advise on how to proceed.  Another to Darigold for sending me authentic patches to include on the jacket.

Most of all, Thank You Chris Wedes, for creating somebody so special.  You’ve touched lives beyond measure and we’ll never forget.

Color me chartreuse and pee on the back of my head. It’s an update!

It’s been a while.  To say the least.  I believe somewhere down the line I did mention that I’m lazy.  My lack of posts proves that.

I’m, hopefully, going to pick up a bit more on the writing here.  Probably not in the same vein that I was originally.  There will still be the cosplay posts.  But instead of tutorial type posts, more blogs about con life.  If you’ve read any of my posts it doesn’t come as a surprise that I tend to run at the mouth.  So why not put that to good use?

Blogging is something that I’m pretty good at.  Not in the I’m Going to Find Some Weird Story and Break it on the Internet.  More along the lines of, Here’s My Life, Take it or Leave it.

On of the things that I have always wanted to do, since I got started in cosplay, is to cozy up to famous cosplayers and get more intimate details out of them about their lives.  Not information like what their measurements are.  I mean real information that will help their fans connect to them, get a real idea of what the lifestyle is like, and show them as human beings.

I’ve spent years working my way past the obvious stereotypes.  I’m old enough to be most of their dads.  Automatically creepy.  I’m a guy.  Automatically creepy, possibly dangerous.  Stereotypes that, all too often, prove true.  These days I’ve built enough of a relationship with many of them that I can approach them and not make them feel cornered.  They can relax and be comfortable knowing that I’m not going to do anything to send them running.  In fact, I know them well enough now that I can start asking them for interviews.  BECAUSE they know I’m not going to ask about their measurements or home addresses.

While that is a huge part of the direction I want to go, there are other considerations.  HOW do I want to present the information?  Live feeds, podcasts, youtube, transcripts?  What format works best for me, for them, and for the fans?

I’m not looking to get this figured out tonight or this weekend.  Just something to start shaping and directing in the near future.  Emerald City Comic Con is in March and, fingers crossed, I’ll do my first set of interviews there.  With a possible panel at the show, 2 new costumes, and 2 reworked costumes, ECCC could be a big one for me.

Let’s see where this goes.

This is going to be an interesting project.

Brad and I have joined a group for next years Emerald City Comic Con.  The theme is, “When your favorite show ends…” The idea is both simple and grand.  Imagine all of your favorite childhood shows.  The ones you watched in the mornings before school, after getting home from school, and early Saturday morning.  Those times when it was only you and the TV and you got to be one of the heroes.

Now RE-imagine those characters.  After their shows ended.  And after the apocalypse.  What could possibly warp and change them after what they’ve seen on their shows?  How could the end of the world effect them?

My first inclination was a fusion of Mad Max and Speed Racer.  Unfortunately he was already chosen.  I toyed with the idea of joining with a rendition of Racer X.  In one of the posts Tina mentioned that they had found their Mr. Rogers.  Naturally this got me thinking of Captain Kangaroo.  Having grown up in Washington State, my stream of consciousness quickly latched onto JP Patches.

jp patches

For those that don’t know, JP Patches is a legitimate icon in Seattle.  Over two decades on the air, thousands of hours, and millions of fans.  He’s recognizable and memorable.  Even those in the Seattle area who had not been born by the time the show went off the air in 1981 know who he is.  Among those of us old enough to remember him, his reach extends globally.

The children that he taught to laugh and love.  To be compassionate and caring.  To be good neighbors and even greater people.  We crossed the planet and shared what he shared with us.

Now take a that character and reimagine him having survived the apocalypse.

Pause a moment to reflect on how changing such a beloved character can be taken by the general public.

In a society today that will jump on everything, whether the criticism is justified or not.  Where the anonymity of the internet has allowed the callous and venomous to spew their hate unchecked.  A society that has even allowed that venom to escape that virtual reality into actual reality.  People behaving in a manner that should shake us at our core, yet somehow, doesn’t.

Imagine the hate that changing this character, in this way, could foster.  I’m not exaggerating when I tell you that this makes me more than a little nervous.  JP Patches means a lot to me!  I want to honor him as much as I want to be creative.  This isn’t about making someone you love into somebody you could never recognize.

I don’t think that the idea is to take a character and show “what a monster they’ve become.”  I want the world to see “a shining light that has survived the darkest night.”  With Gertrude to help and lean on, it’s not that hard to imagine.  I still want JP Patches, even post apocalypse, to represent love, compassion, and friendship.

The rub is how to do it properly.  To remain recognizable as JP Patches.  To show the trails and tribulations survived.  And still radiate hope and joy.

These are some big shoes to fill (pun intended).

So….what have I been up to?

For over a year!  I believe I’ve mentioned that I’m lazy.  And now you have proof.  If you did comment in the past year and a half, please let me know.  Why?  Because all comments require approval and the vast majority of comments were spam so I just deleted all 500 pending comments.  Plus the 60 that were actually flagged as spam.

Cara (AZPowergirl) suggested that I use this space as more than just a DIY tutorial.  My posts can be rather long and rambling and as Brad (BHCosplay) pointed out, nobody wants to sit through long posts.  So why not make this more succinct for the Learn As You Go posts and add additional content about other things in my life.

For example; while I have not posted, I have done work on cosplays and been to conventions since my last post.  So it’s not like EVERYTHING has been put on hold.  Just this page.  Cara thinks I should be more active on this page my blogging about how to keep myself motivated and work.  What cons I’m going to and what happens at them.  A more general, here’s life, kind of blog.  Ironically, more like my Xanga was, which I eventually abandoned because I had no real need to blog like that anymore.

I think I’ll give it a try and see how it goes.  Hell, why not!  I’ve already bought and paid for the domain name and hosting services, I may as well use them.

Speed Walker

Pinning the edges for the crest and letters went well.  The glue holds great and is a perfect way to complete the overlay.  Cutting the notches around the edges could use some work.  When the fabric was folded over you can see where the cuts were made and it gives the letters a chopping feel to them.  Since this is only noticeable up close it should not be a problem.

IMG537

I used the same glue and technique to attach the letters to the front of the crest.  Gluing the edges of the letters and “painting” the glue around to eliminate gaps.  It was then allowed to dry.

DSC00065

While the glue was drying I completed the cape.  Since I wanted a simple cape that still looked like a cape made from home I used a XXXL black t-shirt.  I cut off the sleeves and turned the shirt inside out to sew the arm holes closed.  I then inserted the tines for a magnetic clasp to hold it around the neck.  The pictures that I found make it look like the cape is not physically attached to the shirt and I wanted to keep that.  Additionally, I did not want a cape that was permanently secured around the neck.  Undoubtedly some asshole is going to yank on the cape, choking me.  The magnetic clasp will detach easily enough, making yanking or driving much more comfortable.

Once the clasp was attached I noticed that the fabric of the shirt stretched around the hole and looked in danger of tearing easily.  So I removed the clasps and ironed on some Ditz seam repair tape.  This is the same tape that I used to cover the seams on the pants of my rogue cosplay and it has held up like gangbusters.  Once the tape was on I reinserted the clasps and I feel that this will create a much more robust cape.

IMG540 IMG542

DSC00056 DSC00058 DSC00060

The only thing left was affixing the crest to the shirt.  Instead of using the same glue that I had, I opted for a spray on adhesive.  The amount of glue I had remaining was in short supply and I wanted something to cover a much larger area.  The Spray N Bond fusible adhesive was purchased at Wal Mart and seemed pretty straight forward.  Spray it on, let it dry, iron it.  I figured with the thick crest and letters I would turn the shirt inside out to iron on the fabric.  The instructions in the can suggest doing so for an additional 6 seconds for thicker fabrics.  Once attached I found that sides, especially near the letters, did not affix very well if at all.  I tried ironing it a second time at a higher temperature to no avail.  Since the adhesive was applied as a liquid I set the iron on Cotton/Steam and reironed the inside of the shirt.  This produced a much stronger bond.  I can only assume that the addition of moisture and heat reactivated the adhesive.  It might be worth attaching the fabric and ironing immediately, rather than allowing it to dry as the instructions say.

DSC00074

The next hurdle will be cleaning it.  Everything, from the glue to the fusible midweight, says it is safe from machine washing.  My concern is that the letters will fray, or fall off, and the crest may fall off.  Additionally, there is a chance that, while everything remains attached, the crest and letters may become warped or shrunken.  Since I will not wear it multiple times without washing it I will probably have it dry cleaned.

New cosplay

I’ve finally started a new cosplay.  Yes it’s been nearly a year.  Yes I’m lazy.  No you don’t have to keep reading.

Most of my friends and family on facebook won’t read this so I’m going to go ahead and post my “mystery cosplay” progress here.  They’ll get updates but none of them will actually figure it out until I post the finished project.

So I will be at NYCC in a week and a half and one of the guests will be Bill Nye.  Many know him as Bill Nye the Science Guy.  But before he was the science guy he was a superhero.  He was on a little skit comedy show based out of Seattle called Almost Live.  And one of my favorite characters was Speed Walker.  He fights crime while strictly adhering to the National Speed Walkers Association rules.  HEEL TOE, HEEL TOE!

Since Mr. Nye will be attending on Saturday I wanted to wear a cosplay for him that predates the Science Guy.

hqdefault speedwalker001

As you can see it is a pretty simple costume and should be easy enough to make.  YET!  There are some tricks involved.  Sewing the letters to the crest and the crest to the shirt may looks easy at first glance.  But try to remember some of the tricks of sewing;

1. Edges of fabric unravel.

2. Sewing machines are not designed to sew from the inside of a shirt.

This means that the letters and the crest need to have the edges folded over and basted to keep the edges from unraveling.  This includes notching the fabric to make a nice smooth edge on the curves of the S.

To add some flair to the cosplay I decided to make the crest and letters raised to stand out some more.  I am using t-shirts as the starting fabric for value sake.  It was a cheap costume on the show and that part will remain but I want the finished product to look a little more finished.

I made simple stencils for the letters and hand drew the crest to fit my chest.  I traced the stencils and crest onto midweight fusible interfacing.

IMG528

Unfortunately, and this was kinda expected, the bond between the interfacing and the fabric in not particularly strong.  This is not a surprise as it is designed to be sewed into the final product.  In this case I am using it to give the crest and letters more heft.  Because of this poor bond I am gluing the edges of the fabric down to the back of the interfacing.  I used a plastic bristle paint brush to “paint” the glue onto the edge of the fabric and the back of the interfacing and pinned it to hold it in place.

IMG536

I used the glue to tighten the sleeve of my Rogue belt and was impressed with how well it has held up.  It takes some time to dry and I will check it in the morning.  If it looks and feels good I will continue gluing the remainder of the crest and letters.

As I said, this is a pretty simple cosplay and I’m working on a short timeline so not everything is going to be picture perfect.  I will be putting the crest on a grey shirt to match the grey shorts that I have.  These are pretty major changes from the pictures but should be easily overlooked in the spirit of the character.

La La Land

So I’ve actually purchased just about everything that I need for my next cosplay.  I have the fabric.  Including practice fabric because this is going to be a monster project.  Now I’m starting to get motivated to get my ass moving and get started but work has me in Texas for 2 1/2 weeks.  It was supposed to be 1 week and I packed accordingly.

I mentioned that I have just about everything that I need for the next cosplay.  What I don’t have is software.  Most of the cosplayers that I talk to scoff at the idea of using software.  Ok, scoff may be a tad harsh but none of them use it.  They have the experience and knowledge to just start doing it.  Which is a little daunting for somebody like me.  I’ve got the idea in my head but getting it down on paper is another matter.  Not to mention breaking it down into component parts that can be cut out and sewn together.  Naturally this is not some skill that you are born with.  At least I hope not.  That means I have to learn it or figure out some other way of getting it done.

To me, this dilemma just screamed SOFTWARE!  You would think that the fashion industry would have software that is created specifically to aid in designing clothes and then getting those designs made.  Well, it turns out, there is.  In fact, there are several.  Most of the ones that I saw are limited however.  Consisting of drawing type programs.  Everything you need to create a look on screen.  Stylized mannequins that look great.  But they don’t help you with the measurements or creating patterns to work from.  One of the programs I ran across looked more like a pyramid scheme.  Something alone the lines of the “create a store online that requires no inventory or overhead on your part” things that were popping up years ago.  But there are a few out there that seems to be much closer to what I’m looking for.  The key is finding programs that can create patterns.  I did find a couple and they look promising but they do seem to focus primarily on the pattern making and less on the designs.

I did find one, however, that was everything that I hoped for.  From a strong database of basics to a fully realized design software and the capability to create patterns from the designs.  It was multiplatform compatible and fully supported.  Which, of course, means it was too good to be true.  This was reinforced by the fact that the price of the software was not listed anywhere on the site.

The functions and modules that I was looking for would cost about $12,000.  Which, admittedly, was a little out of my price range.  But they did offer a payment play, which I thought was nice of them.  About $750 per payment.  I forgot if it was monthly, bi-monthly, or weekly.  Not that it really mattered.  When I was talking to the salesman on the phone, yes they called me to get an idea of what I needed and that they could provide it, I am pretty sure my lack of enthusiasm after he mentioned the price told him everything he needed to know.  Even after he mentioned the payment option.  I thanked him for his time and let him know that this was no in my price range.  He actually asked what the intent was and about this website.  Which is cool.  I’ve got nothing to hide in that respect.

To be honest, their customer service and the capabilities of the software easily won me over.  The price tag, however, makes it clear that this is an investment for a much larger company.  If I did have an extra $12,000 kicking around that I didn’t need on any fuck all number of other things I would absolutely have purchased it.  By the same token, if I could afford all the software and hardware to design my own Xbox or Playstation, I would.

Due to the lack of funds and options I am turning to low cost apps for my Surface Pro.  Unfortunately my lack of artistic ability is making it more frustrating than helpful.